The Ultimate Guide: How to Organize a Freezer to Stop Waste and Save Money

Learning how to organize a freezer is one of the most effective money-saving projects you can tackle in your kitchen. Is your freezer a frozen wasteland of mystery meats, frost-bitten vegetables, and forgotten leftovers? Are you terrified of the inevitable food avalanche every time you open the door? A disorganized freezer isn’t just an inconvenience; it’s a silent drain on your budget.
When you can’t see what you have, you buy duplicates and let good food expire, buried under a mountain of ice. But a well-organized freezer can be a powerful tool for meal planning, bulk buying, and reducing food waste. This guide will provide you with a simple, step-by-step system to transform your frozen chaos into a beautifully efficient food bank.
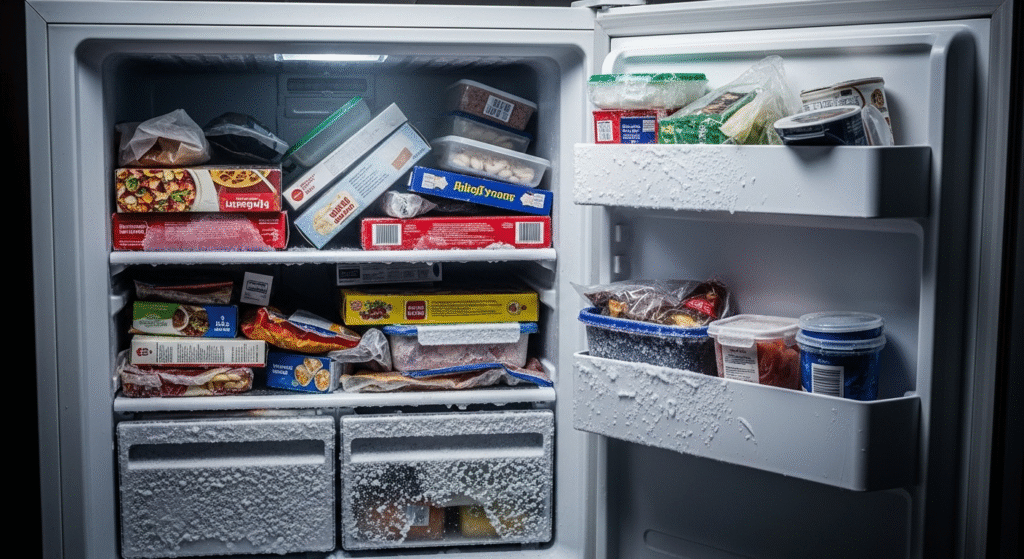
Step 1: The Great Thaw (Empty, Sort, and Clean)
Just like organizing a pantry or fridge, you have to start with a clean slate.
- Empty Everything: Take every single item out of your freezer. Place items in a cooler with ice packs to keep them frozen while you work.
- The Brutal Purge: This is the most important part of learning how to organize a freezer. Inspect every item. Is it covered in excessive ice crystals (a sign of freezer burn)? Can you even identify what it is? Is it years past its “best by” date? If you’re in doubt, throw it out.
- Defrost and Deep Clean: If your freezer has a lot of ice buildup, now is the perfect time to defrost it. Once it’s clear, give the entire interior a thorough cleaning with a food-safe cleaner.
Step 2: Create “Frozen Zones” with Bins
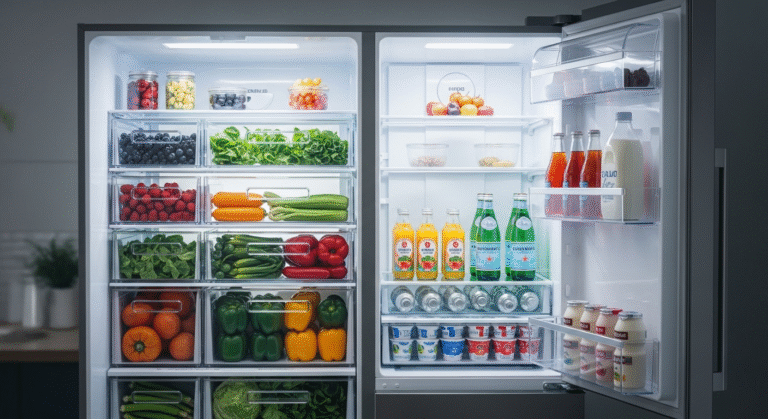
This is the secret to maintaining long-term order. Grouping items into categories using clear bins is a total game-changer, especially for deep chest freezers where things easily get lost at the bottom.
Categorize Everything:
- Raw Proteins: Dedicate separate bins for chicken, beef, and fish to prevent cross-contamination.
- Fruits & Vegetables: Keep all your frozen produce together.
- Prepared Meals: A bin for leftovers, pre-made meals, or frozen pizzas.
- Breakfast Items: Waffles, frozen sausages, etc.
- Sweets & Treats: Ice cream, popsicles, etc.
Using clear, stackable bins allows you to see what’s in each category and simply lift one bin out to get what you need, instead of digging through the entire freezer.
The Perfect Tool: Clear, sturdy Fridge & Freezer Bins are essential. Look for ones with handles for easy lifting.

Step 3: The Art of Flat-Freezing
For items like ground meat, soups, or sauces, don’t freeze them in bulky, round containers. This is a crucial tip for how to organize a freezer like a pro.
- The Method: Place the food in a zip-top freezer bag. Squeeze out as much air as possible, then lay the bag flat on a baking sheet and freeze it.
- The Result: You get a thin, solid, rectangular “brick” of food.
- The Benefit: These flat packages can be “filed” vertically in a bin like books on a shelf, saving an incredible amount of space compared to bulky containers.
This technique is a favorite of meal prep experts and is widely recommended by food blogs like The Kitchn.
Step 4: Label, Date, and Keep an Inventory
Your memory is not a reliable inventory system.
- Label Everything: Use a permanent marker to label every bag and container with what it is and the date it was frozen.
- Create an Inventory List: This is a next-level step but is incredibly effective. Keep a simple whiteboard or a note on your phone listing the contents of your freezer. When you use something, cross it off. When you add something, write it down. This completely eliminates duplicate purchases.
A Freezer That Saves You Money
By following these steps for how to organize a freezer, you’re creating a system that works for you. You’ll know exactly what you have, find it instantly, and stop throwing away perfectly good food. It’s an investment of a few hours that will pay you back every single week at the grocery store.
Ready to conquer the cold chaos? Explore our Fridge & Freezer Organization collection here.

