The Ultimate Guide: How to Organize Your Kitchen Countertops for a Clutter-Free Life
Your kitchen countertops are more than just a place to chop vegetables; they are the command center of your home and the visual centerpiece of your kitchen. When they are cluttered and disorganized, the entire space feels chaotic and stressful. But when they are clear, clean, and beautifully styled, they can inspire creativity and bring a sense of calm to your daily routine.
Achieving that “magazine-worthy” look isn’t about having a huge kitchen or an unlimited budget. It’s about a shift in mindset and a series of smart, intentional choices. This ultimate kitchen countertop organization guide will walk you through the entire process, from the crucial first step of decluttering to the final styling touches that make all the difference.
Phase 1: The Foundation – Ruthless Decluttering
You simply cannot organize clutter. The most important step in any organizational project is to first get rid of what doesn’t belong.
The “Everything Off” Method
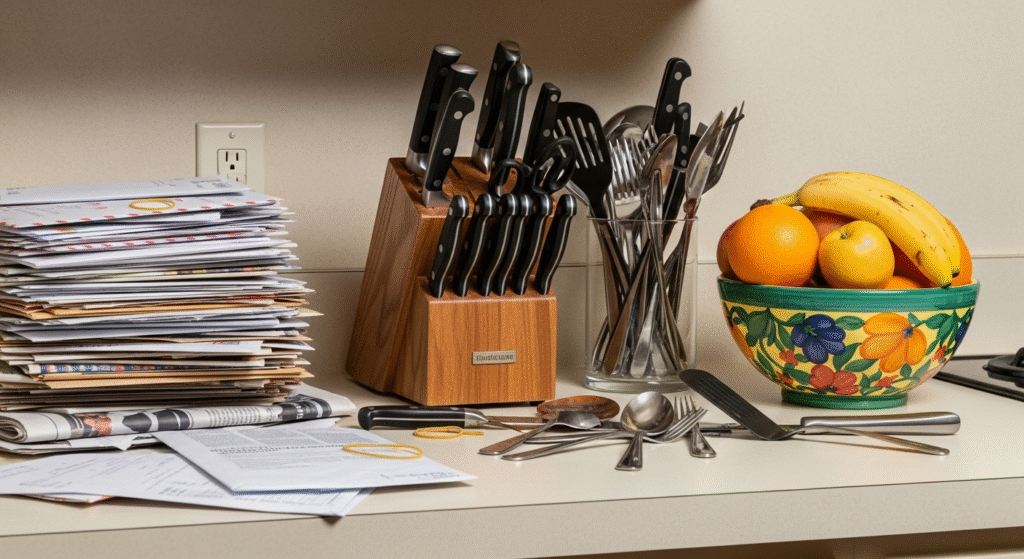
Start by taking every single item off your countertops. Every appliance, every utensil crock, every piece of mail, every bottle. Place them all on your dining table or the floor. Now, clean your countertops thoroughly. This act of creating a completely blank slate is psychologically powerful and allows you to rebuild with intention.
The 4-Box Sorting System
As you look at the pile of items, create four zones or boxes:
- Keep on Counter: For items used daily (e.g., coffee maker, main cooking utensils). Be extremely selective here.
- Relocate: For items that belong in a cabinet or drawer (e.g., most appliances, extra mugs).
- Donate/Give Away: For items you no longer need or use (e.g., that old blender, duplicate gadgets).
- Trash: For anything broken, expired, or unusable.
This decluttering phase is the hardest part, but it’s essential for long-term success in your kitchen countertop organization journey.
Phase 2: Creating Functional “Zones”
Now that you know what’s staying on the counter, don’t just put it back randomly. Think like a designer and create designated zones for specific tasks. This is a core principle recommended by home organization experts at major publications like Good Housekeeping.
Zone 1: The Coffee & Tea Station
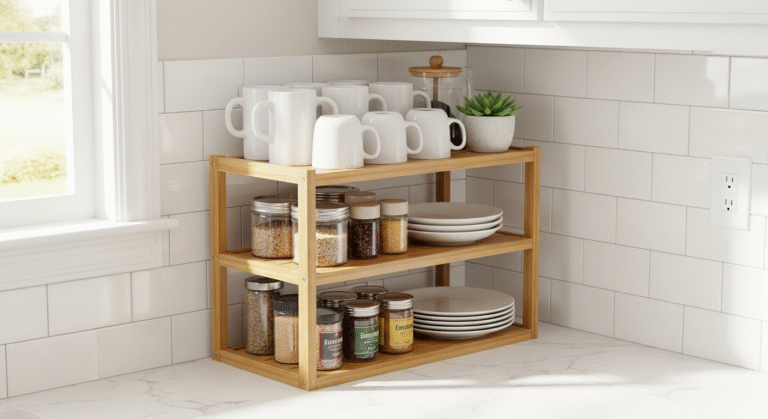
Group your coffee maker, electric kettle, sugar bowl, and favorite mugs together. Placing them on a decorative tray or a dedicated shelf instantly contains the “clutter” and turns it into a purposeful, stylish station.
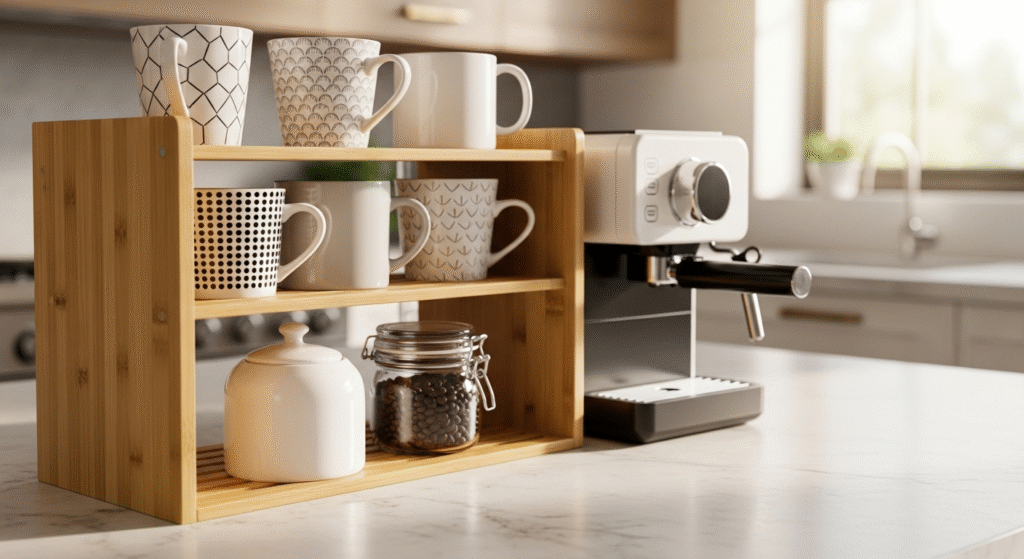
The Perfect Tool: A multi-level shelf is fantastic for this zone. The Sorty™ 3-Tier Bamboo Shelf Organizer not only provides vertical storage but also adds a warm, natural texture that makes the space feel more inviting.
Zone 2: The Cooking Station
The area next to your stove should contain only what you need while actively cooking.
- Oils & Vinegars: Decant your most-used cooking oils and vinegars into attractive, uniform bottles.
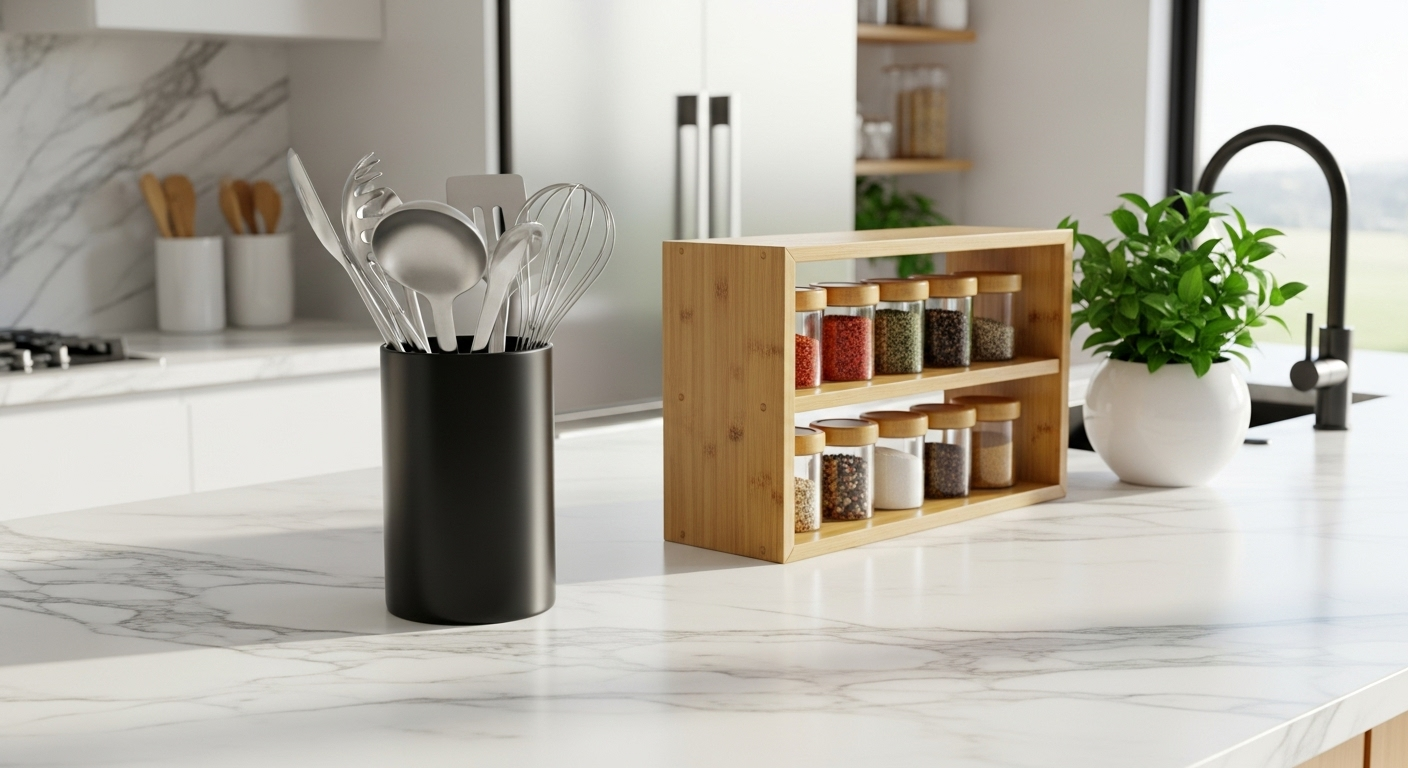
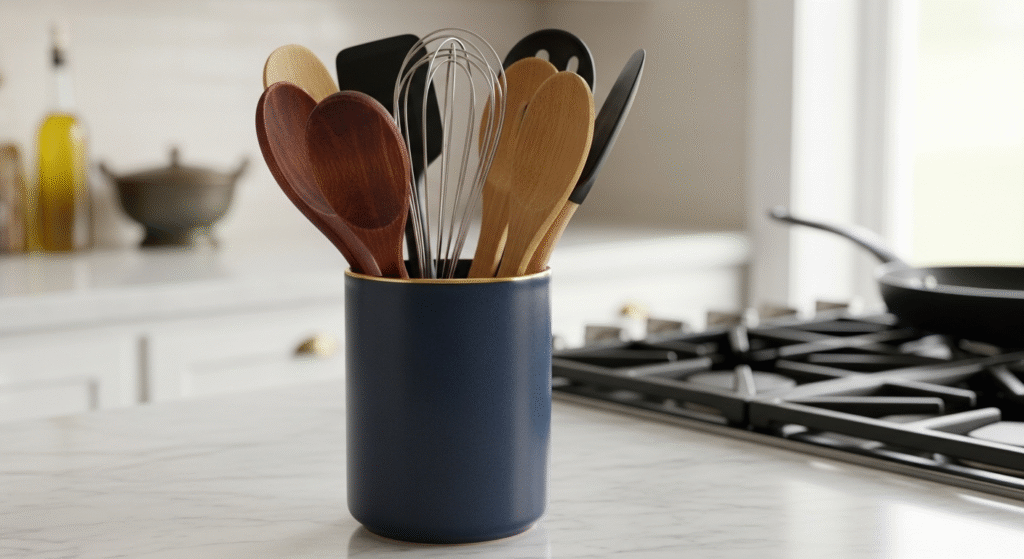
- Utensils: Get your essential spatulas, whisks, and wooden spoons out of the drawer and into a stylish crock. This makes them easy to grab in the heat of the moment.
- Spices: If you have the space, a small, elegant spice rack keeps your most-used flavors at your fingertips.
The Perfect Tool: A beautiful Utensil Holder or Crock is non-negotiable for this zone. For your spices, the Sorty Countertop Spice Rack Organizer is a functional powerhouse.
Zone 3: The Sink & Cleaning Station
This area should be kept as clear as possible. A wet sponge sitting on the counter is not only unsightly but also unhygienic.
- Soap: Use a refillable soap dispenser.
- Sponges & Brushes: Give them a home where they can drain properly.
The Perfect Tool: The Sorty™ Adjustable Faucet Caddy is a genius solution that clips directly onto your faucet, keeping your sponge and brush contained and allowing them to drip-dry directly into the sink.
Phase 3: The Styling – Elevating the Look
With the clutter gone and zones established, the final phase of kitchen countertop organization is about adding those finishing touches that create a high-end feel.
- Add Life with Greenery: A small potted herb like basil or mint, or a simple green plant in a nice pot, instantly adds life, color, and a touch of luxury.
- Use a “Leaning” Cutting Board: Instead of hiding your beautiful wooden cutting boards, lean one or two against the backsplash. It adds texture and warmth and fills vertical space beautifully.
- Hide the Paper Towels: A roll of paper towels can look messy. A sleek, sturdy holder makes a world of difference. Consider an under-cabinet model to free up counter space entirely.
- Corral Small Items: If you must keep a few small items out, place them together in a small decorative bowl or tray.
Maintaining Your Clutter-Free Countertop
The final secret? The “One-Minute Rule.” If a task takes less than a minute to complete, do it immediately. Put the mail away, rinse the dish, wipe the counter. This simple habit prevents clutter from ever building up again.
By following this guide, you can create a kitchen countertop that is not only perfectly organized and functional but also a true reflection of your personal style.
Ready to find the perfect tools for your transformation? Explore our full Countertop & Sink Organizers collection.
